Crochet Your First Amigurumi Ball: A Step-by-Step Beginner Guide
Take your first step into amigurumi with the most essential foundation: a neat, smooth sphere! Learn magic rings, steady increases, and seamless closing.
Welcome to the Heart of Amigurumi: The Sphere
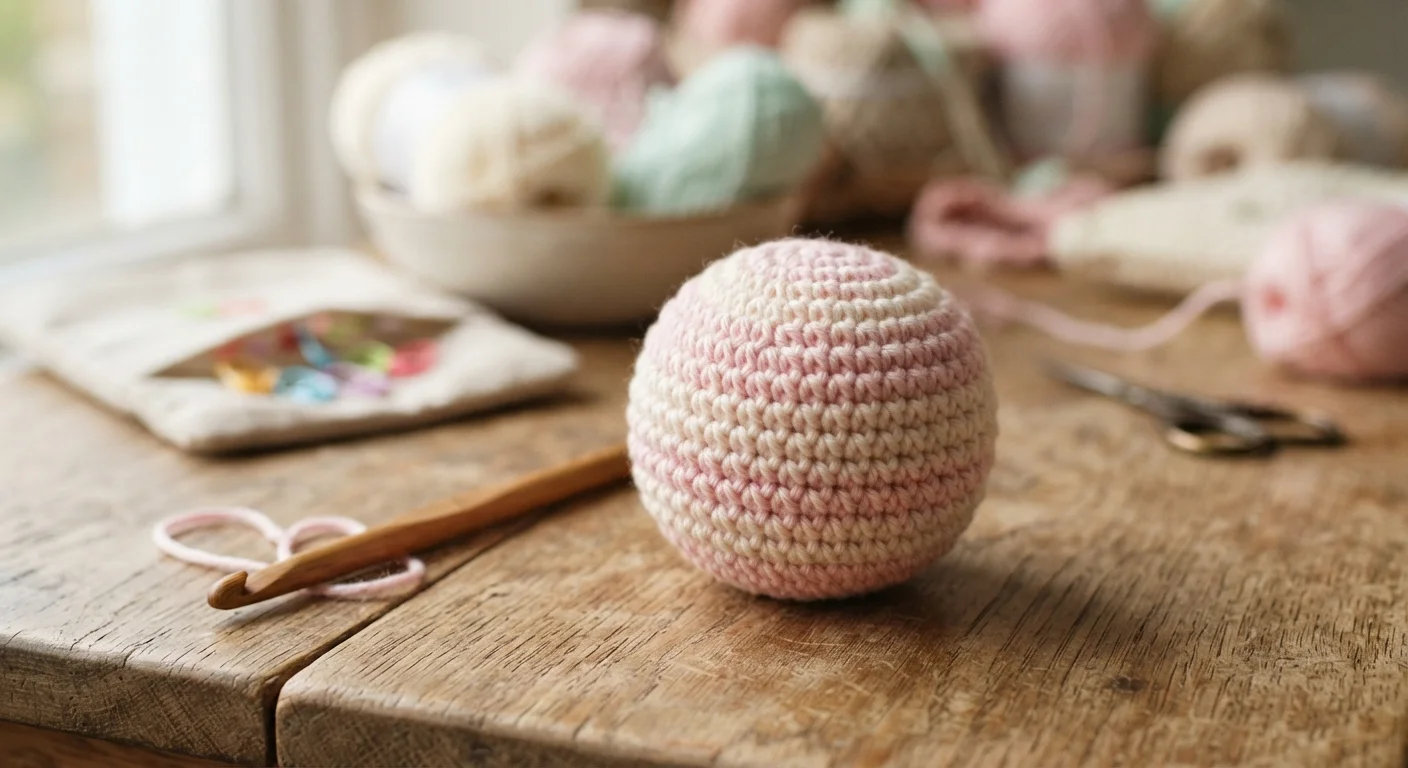
Whenever you admire a sweet crocheted teddy bear, a playful fruit keychain, or a chubby little bunny, you are looking at variations of one core shape: the classic amigurumi sphere.
Mastering this single form is the best milestone for any beginner. Once your hands understand the flow of expanding and decreasing stitches, you will have the confidence to tackle virtually any amigurumi pattern. Don't worry if your first few rounds feel slightly clumsy; with each stitch, your muscle memory will grow, and your tension will even out naturally.
Grab your favorite hook, a fresh ball of yarn, and let's craft your first beautiful ball together!
Tools & Materials You’ll Need
Choosing beginner-friendly materials prevents frustration and lets you see your stitches with clarity:
- Yarn: Cotton or cotton-acrylic blend (DK / Light Worsted weight) in a soft pastel color (light shades make stitches easier to track)
- Crochet Hook: Size 2.25 mm to 2.50 mm (aim for half a size smaller than the yarn label recommends to keep stitches tight)
- Stitch Marker: Essential for keeping track of your continuous spiral rounds
- Fiberfill: High-quality polyester stuffing
- Tapestry Needle & Scissors: Blunt-tip yarn needle and small scissors
Ayla's Tip: In amigurumi, tight tension without strain is key. Going down a hook size ensures the polyfill won't poke through your stitches once stuffed.
Step-by-Step Sphere Pattern
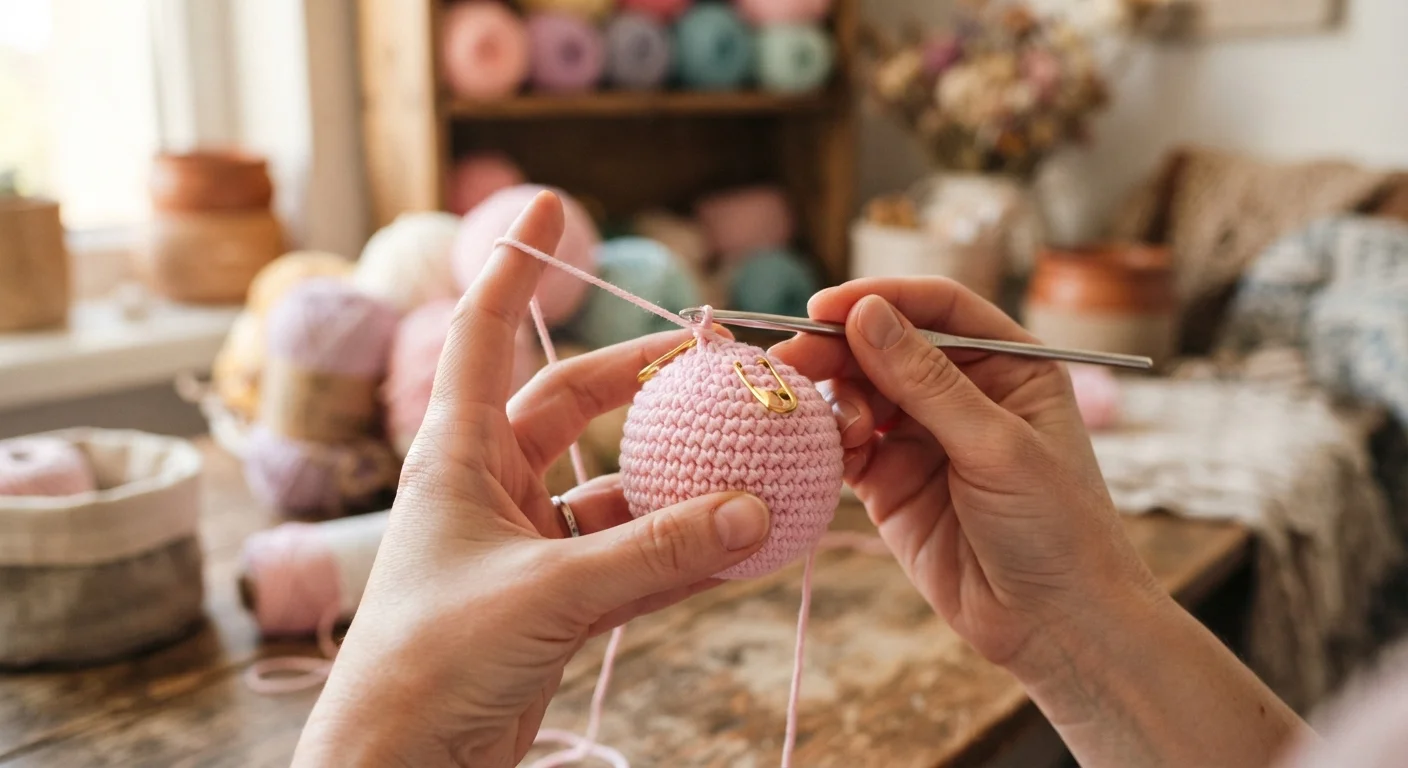
Amigurumi is worked in continuous spiral rounds rather than joined rounds. Do not join with a slip stitch at the end of each round; simply place your stitch marker into the first stitch and keep going.
Stitch Abbreviations (US Terms):
- MR: Magic Ring
- sc: Single crochet
- inc: Increase (2 single crochet stitches in the same stitch)
- inv-dec: Invisible decrease (single crochet two stitches together using front loops only)
- (...) * 6: Repeat the sequence in parentheses 6 times
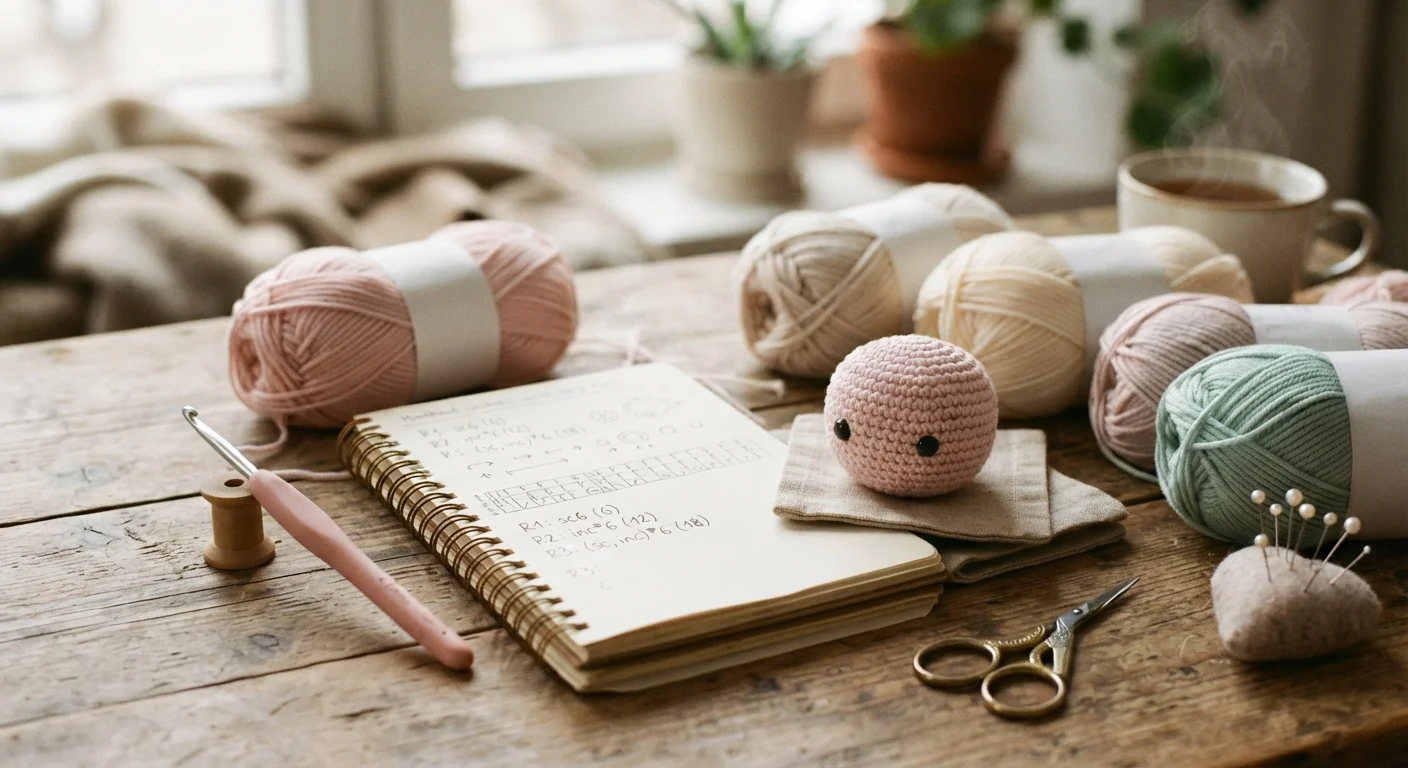
| Round | Pattern Instructions | Total Stitches |
|---|---|---|
| Round 1 | 6 sc into a Magic Ring | 6 |
| Round 2 | 1 inc in each st around (6 inc) | 12 |
| Round 3 | (1 sc, 1 inc) * 6 | 18 |
| Round 4 | (2 sc, 1 inc) * 6 | 24 |
| Rounds 5–8 | 1 sc in each st around (4 straight rounds without increases) | 24 |
| Round 9 | (2 sc, 1 inv-dec) * 6 | 18 |
| Round 10 | (1 sc, 1 inv-dec) * 6 (Stuff firmly here) | 12 |
| Round 11 | 6 inv-dec around | 6 |
Key Techniques for Success
1. Magic Ring & Controlled Expansion
Start by creating a solid magic ring with 6 single crochets. Pull the ring snug, but avoid snapping your yarn. Rounds 2 through 4 will spread the work into a flat, neat hexagonal-circle. Keep your tension relaxed on your non-hook hand.
2. Building the Walls (Rounds 5–8)
As you work rounds without increases, your circle will naturally begin to cup upwards, resembling a tiny bowl. Ensure the "right side" of the fabric (where the neat 'V' stitches face outward) is on the outside.
3. The Invisible Decrease
When you reach Round 9, standard decreases can leave gaps and bumps. Instead, use the invisible decrease: insert your hook into the front loop only of the first stitch, then immediately into the front loop only of the next stitch. Yarn over, pull through both front loops, yarn over again, and pull through both loops on your hook. The reduction will look virtually identical to a standard single crochet!
4. The Golden Rule of Stuffing
Before closing the hole down to 6 stitches in Round 11, add your fiberfill in small tufts:
- Tease out small clumps of stuffing rather than pushing in one large wadded ball.
- Direct the stuffing toward the outer walls first to sculpt a smooth, round curve.
- Check by squeezing gently: your sphere should be bouncy and firm, without stretching the yarn stitches apart.
5. The Ultimate Clean Finish
After finishing Round 11, cut the yarn leaving a 6-inch tail and pull it through the final loop. Thread your tapestry needle and pick up the outer loop of each of the remaining 6 stitches from outside to inside. Pull gently like a drawstring bag to close the gap completely. Insert the needle down into the center hole and bring it out through the side, then snip the yarn flush to hide the tail inside.
You have just completed your very first amigurumi sphere! This tiny sphere is the cornerstone of plush toys, animal heads, mini planets, and holiday ornaments.
We would love to celebrate your crafting journey! Snap a picture of your first sphere and tag us on Instagram at @aylawangurumi so we can cheer you on and share your progress with our cozy maker community.